

Skyline Drag Build Part 2
The article provides an overview of the engine assembly process for a Nissan RD28 diesel block, which is being upgraded with a Spool Imports rotating assembly, including a full counterweight crankshaft with a 94mm stroke, and Spool Drag Pro I-beam conrods. The diesel block is being prepared for maximum performance, and the engine will be used for drag racing.

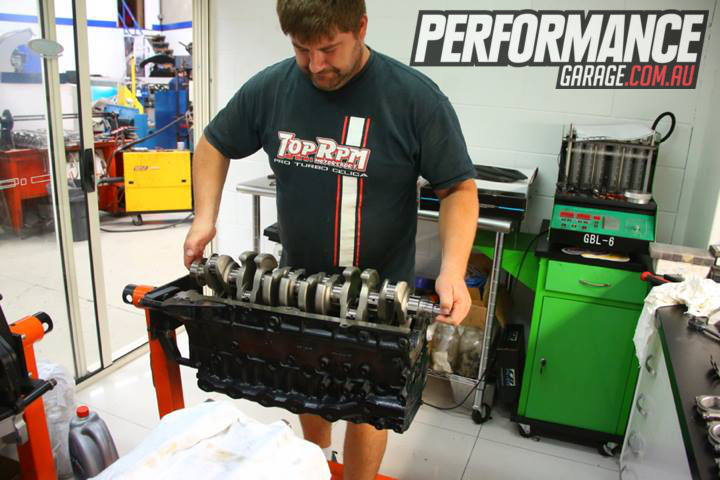
It's engine assembly time on the stroker bottom end with more go fast goodies turning up each day. We're back at Pro-Built Engine Reconditioning to check out the progress.
Preparation of the Nissan RD28 diesel block for a maximum duty application like this takes time and money but I wanted to do things right the first time so it will take as much time and money as it takes.
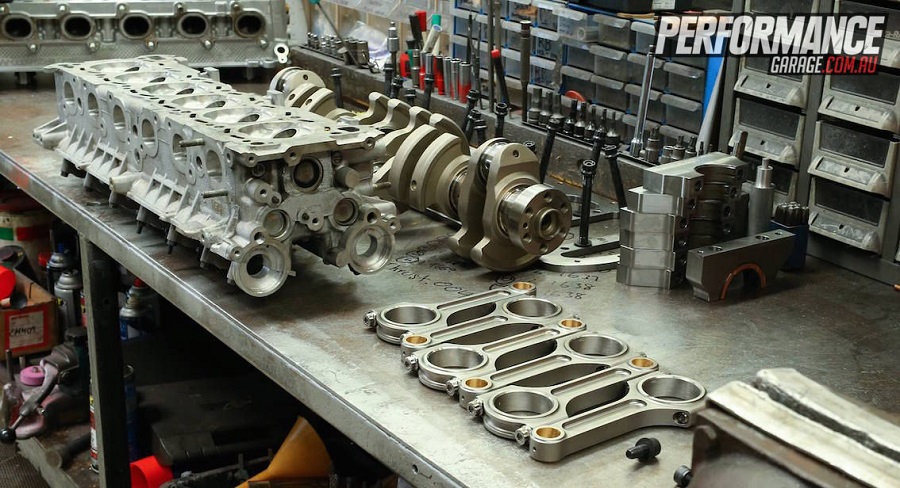
The rotating assembly I've chosen is from Spool Imports. The full counterweight crankshaft runs a 94mm stroke (up from a standard RB26 stroke of 73.7mm, an RB30's 85.0mm or an RD28's 83.0mm). The extra capacity will help bring the Precision Gen-2 8891 turbo onto boost sooner and allow the car to come up on the converter earlier than it might with a smaller capacity motor.
Conrods are also from Spool and while they offer a number of options for every model of RB going, I went with their Drag Pro I-beam version that are a bit tougher and incorporate 7/16in bolts. I ticked the L19 rod bolt upgrade option as well. There are numerous engines out there making over 1000hp with older versions of these rods so I have every confidence in their ability to cop the punishment we plan on giving them.
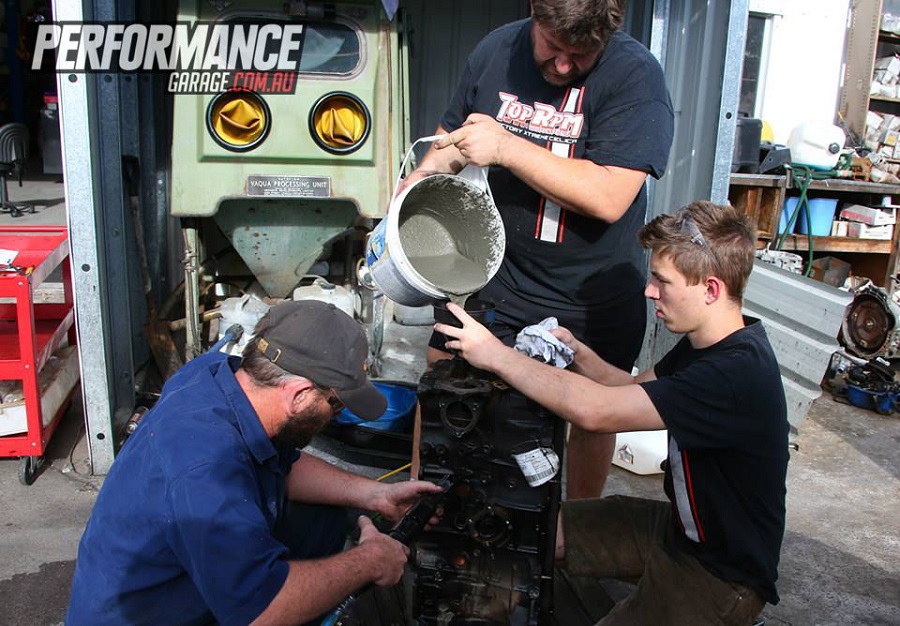
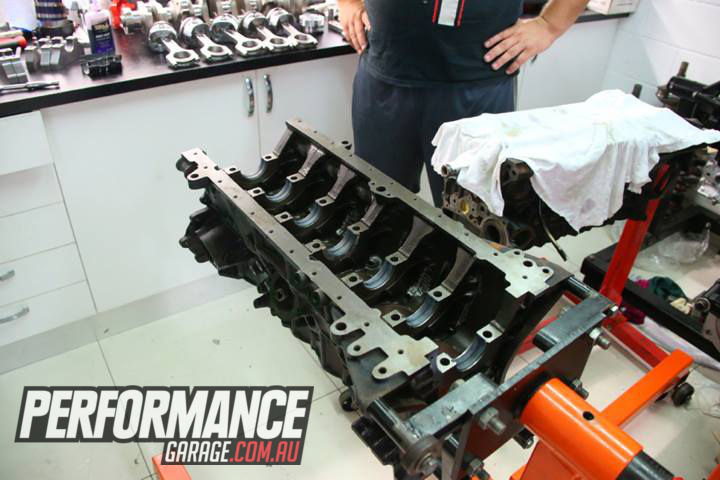
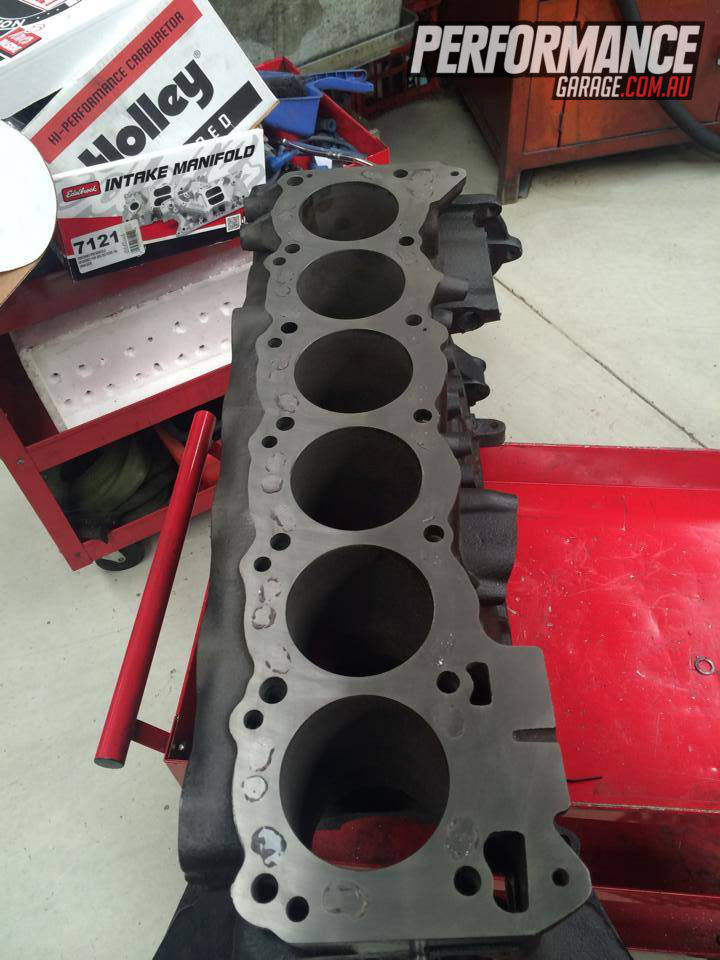
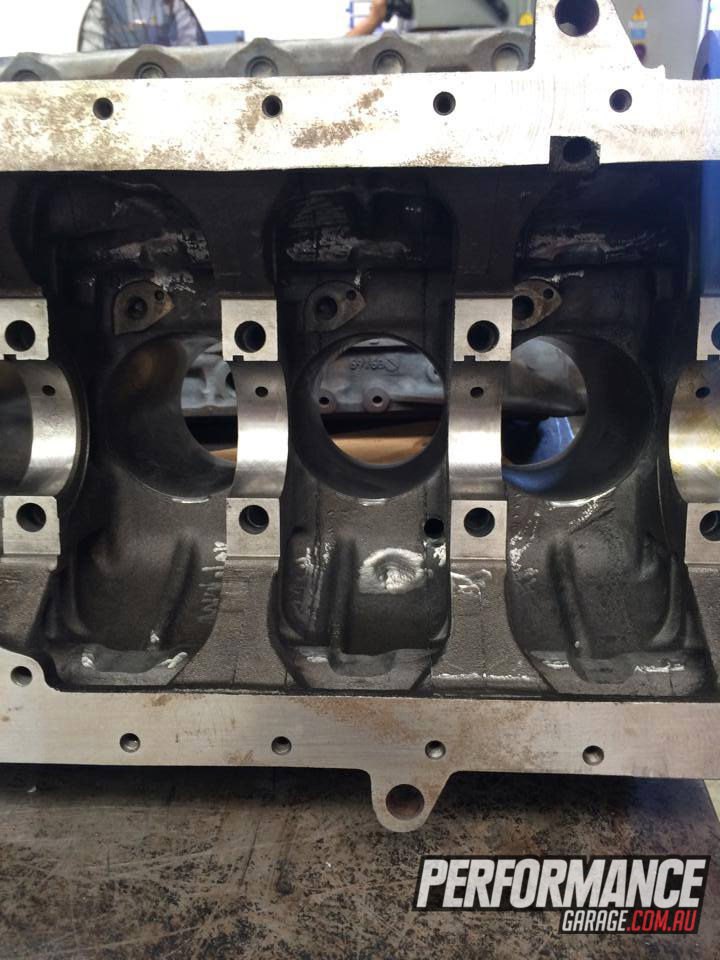
The diesel block was stripped, cleaned and checked for cracks and imperfections before being turned on its end in preparation for filling. As this engine will only ever be used for drag racing and won't be running for long enough to suffer from heat issues we're effectively deleting the cooling passages from the block. Block filler, similar to concrete, is tipped into the engine's water galleries which adds strength and rigidity to the bottom end. An agitator is used to settle the block filler so there are no air bubbles in the mix that might otherwise create a weak spot.
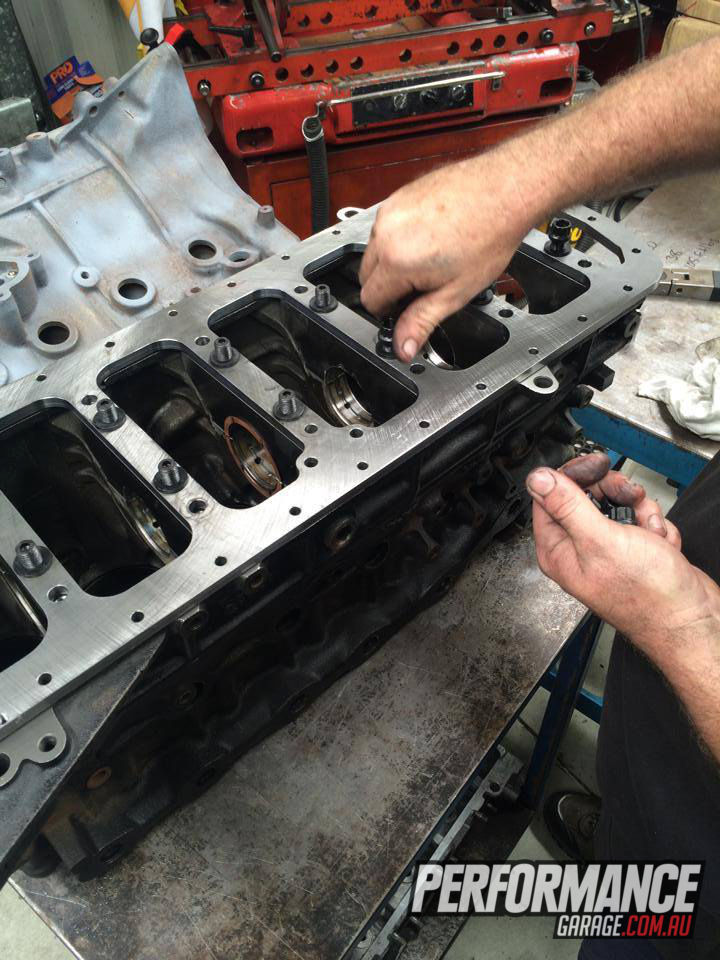
Once the block filler has set it's time to machine the block for the Spool billet steel main caps and larger main and head studs before the more conventional machining, such as boring and honing, can begin. Like the little ends on the conrods, the Spool main caps are supplied undersize so the engine builder can obtain the correct tolerances they require. This involves a process known as line boring where the main caps are precisely machined to suit the crankshaft dimensions. It is vital that the mains are machined true so that the crankshaft is supported evenly by the bearings and is disinclined to move laterally or 'walk'.
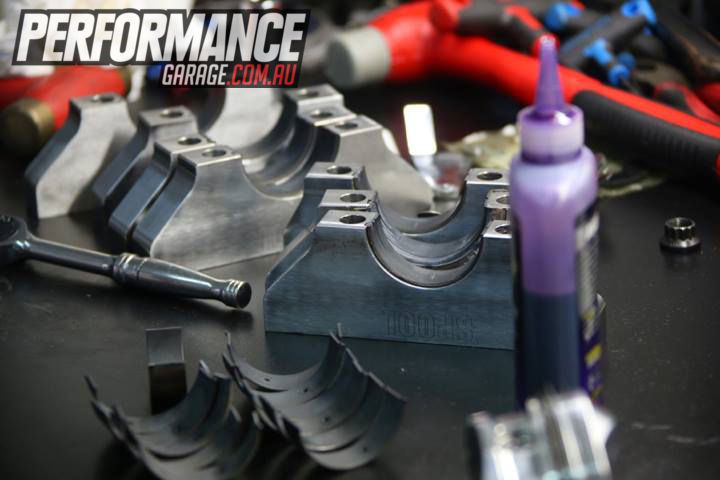
Spool billet steel maincaps being fitted for King Racing bearings
Pro-Built prefer Royal Purple Max-Tuff synthetic engine assembly lube
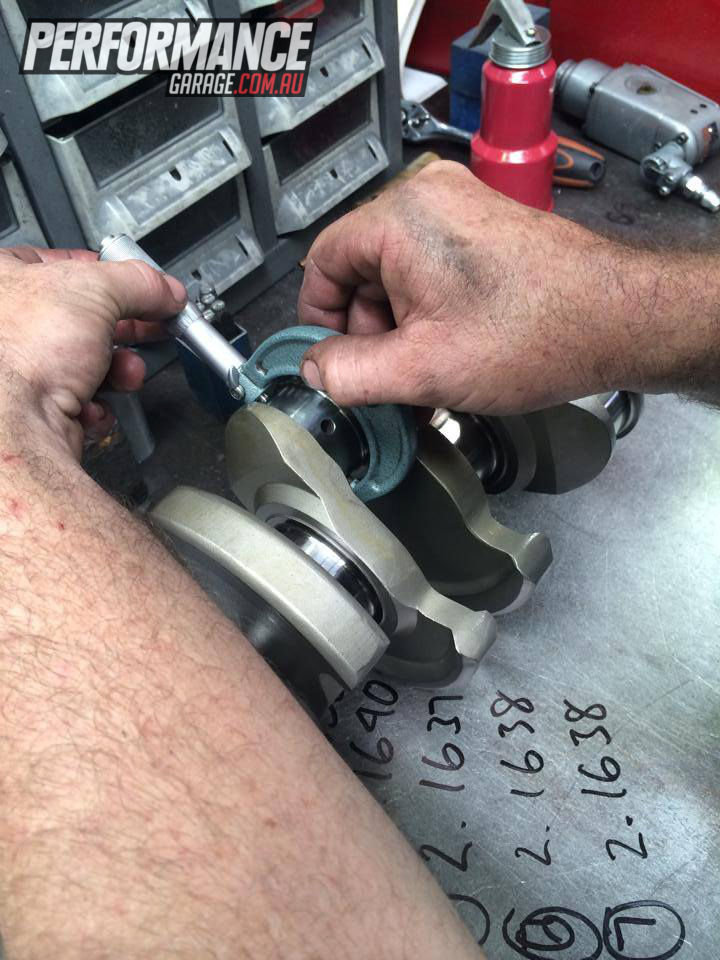
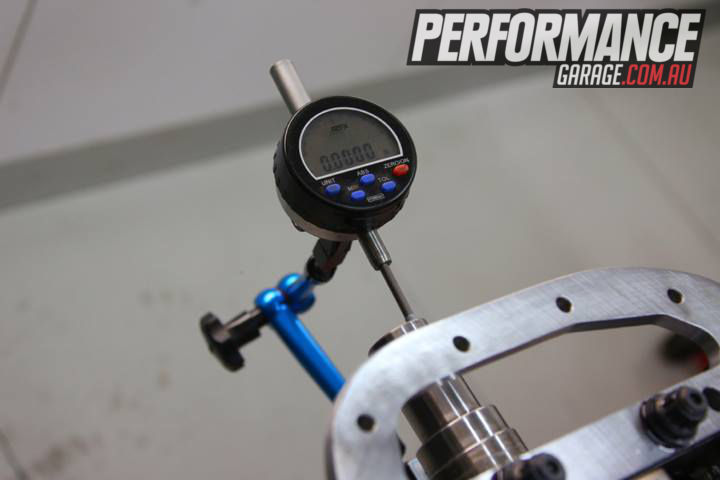
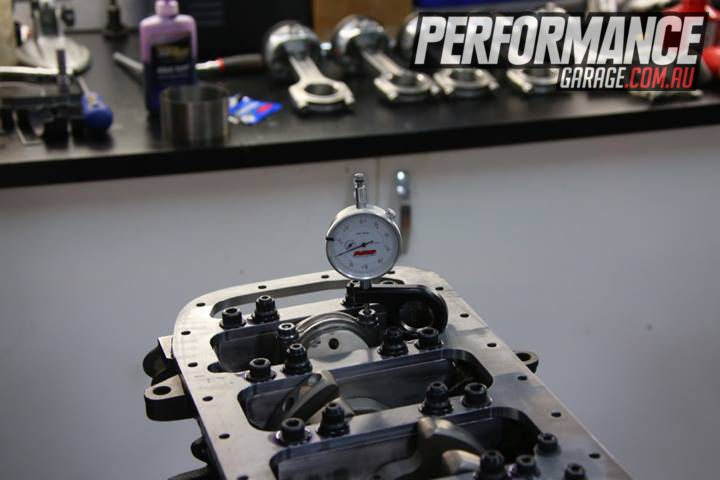
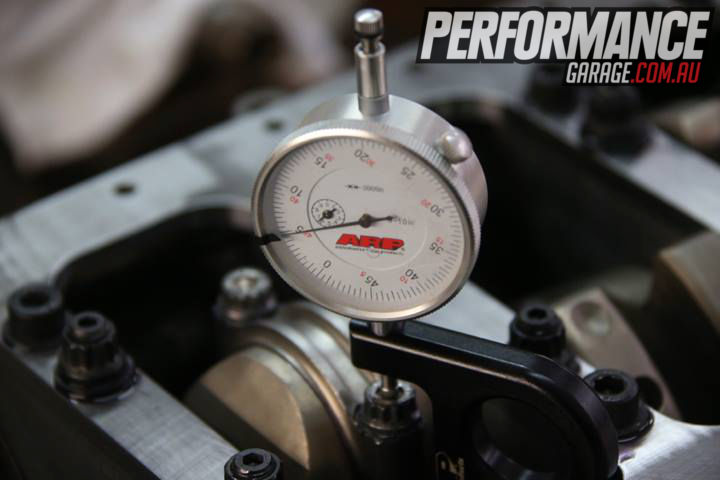
Even high quality CNC-machined billet crankshafts like this one require careful measurement for bearing and thrust tolerances but thankfully this one required very little to get right for our purposes. Milos from Pro-Built Engine Reconditioning measured each journal on the crankshaft as well as the mains with each measurement recorded for machining.
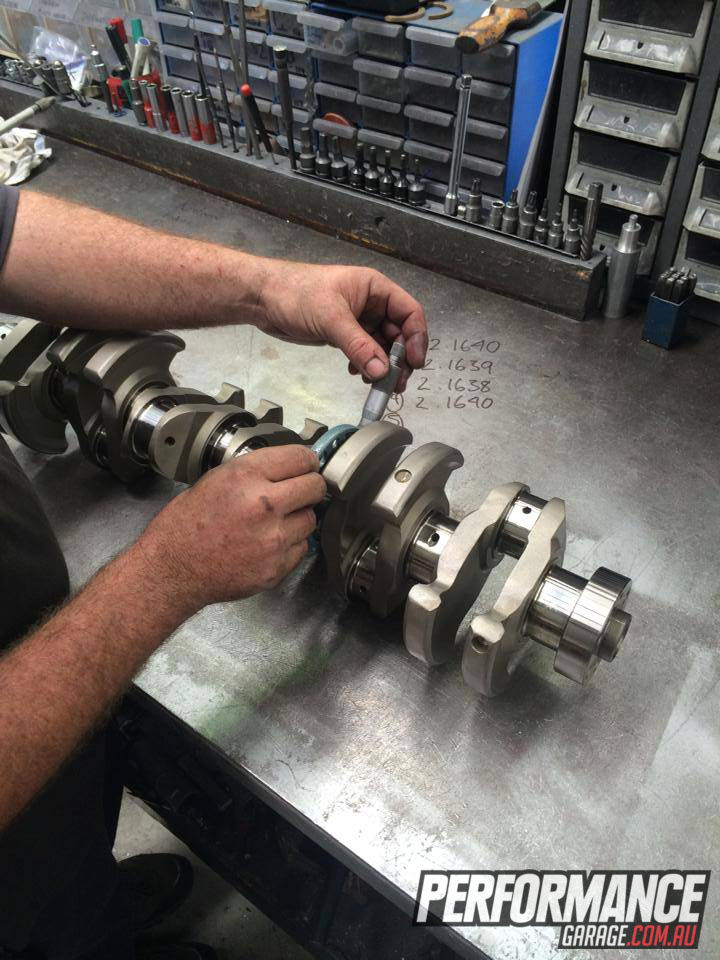
Measuring the crankshaft is vital in any engine build as even quality crankshafts usually need help to be perfectly matched=

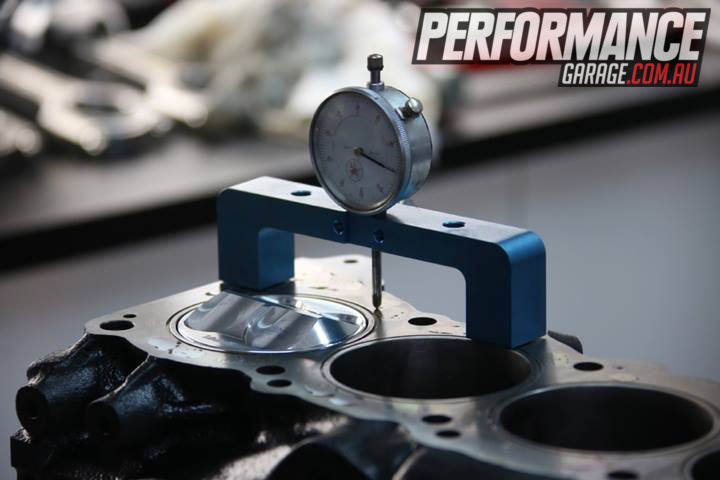
Next the block was bored and honed to suit the 86mm pistons and then grooves were cut into the deck of the block for o-rings. These will hold steel wire that will slot into a matching groove in the cylinder head and help seal in the combustion charge. It's an old idea but it works, and when combined with the primo ARP CA625+ head studs and a quality head gasket will be good for big boost and high cylinder pressures.
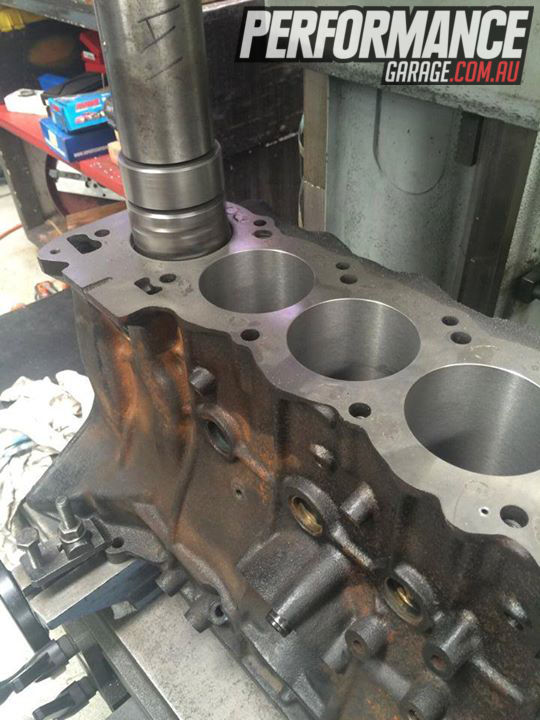
Boring and honing to suit the 86mm CP pistons
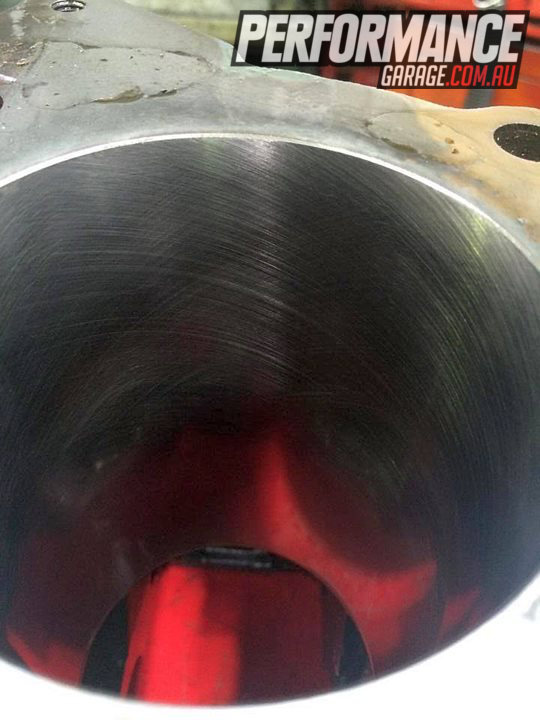
Smooth bores burn oil. This is what you want
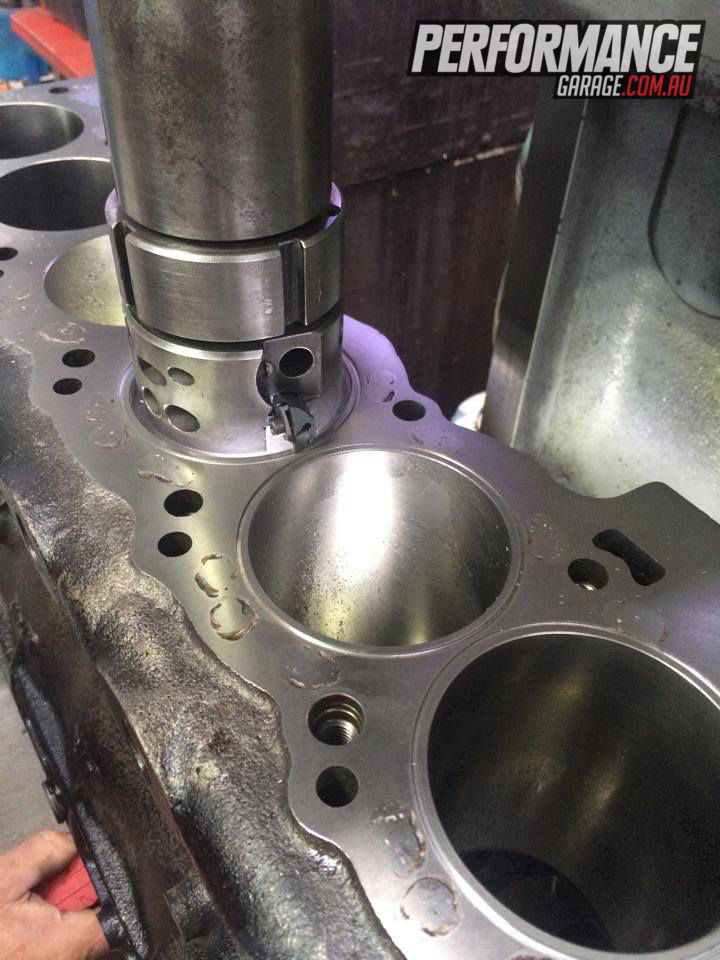
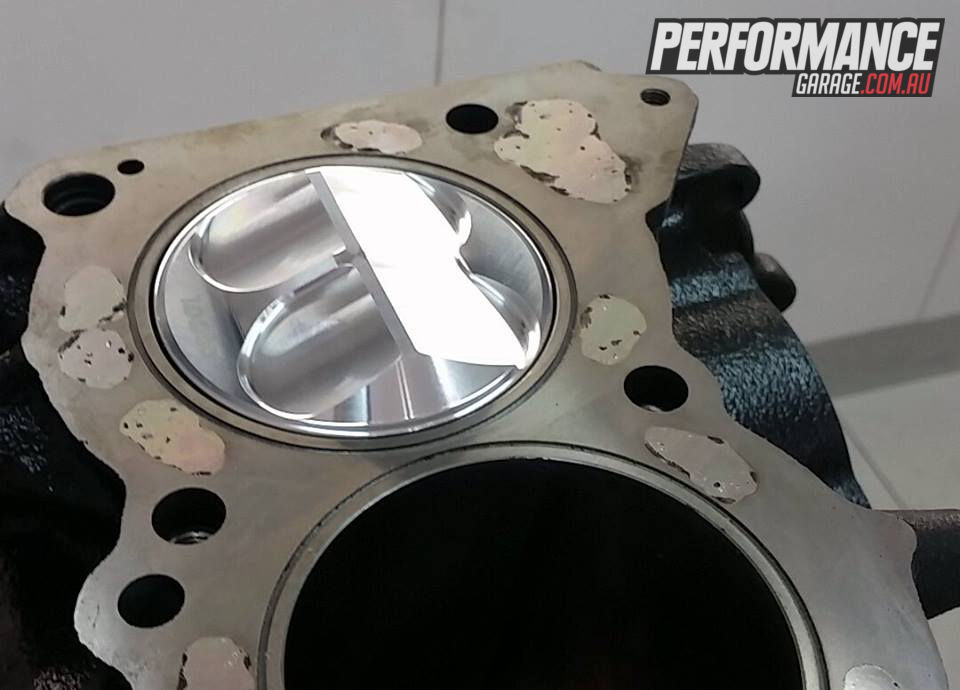
The block is machined for o-rings. A matching groove will be cut into the cylinder head
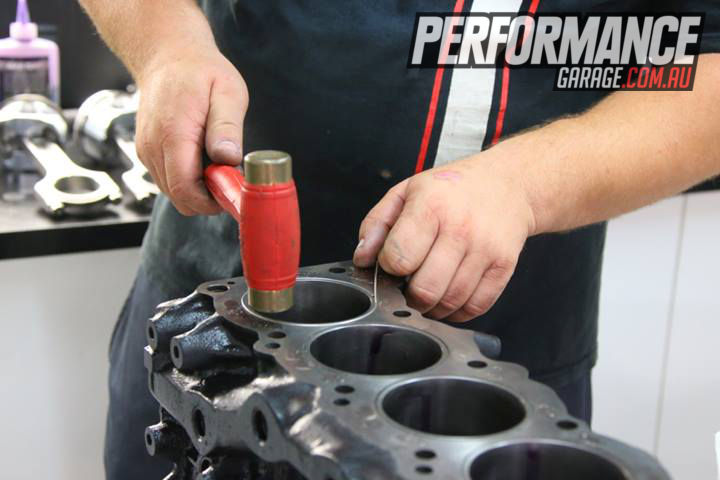
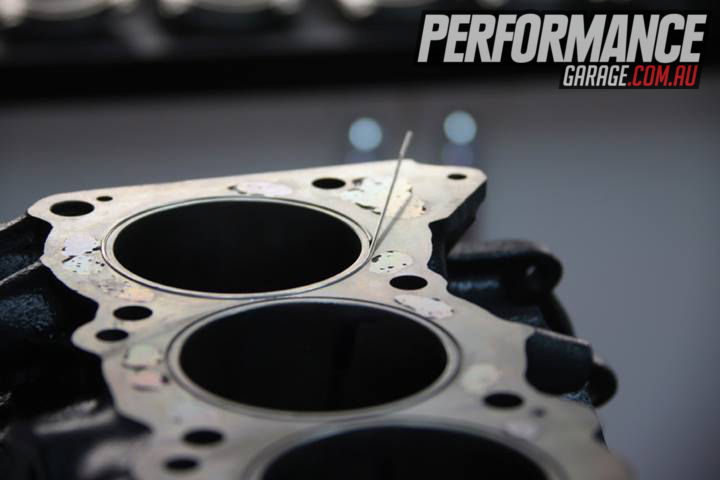
O-rings are lengths of stainless steel wire and work in conjunction with a copper head gasket to seal the motor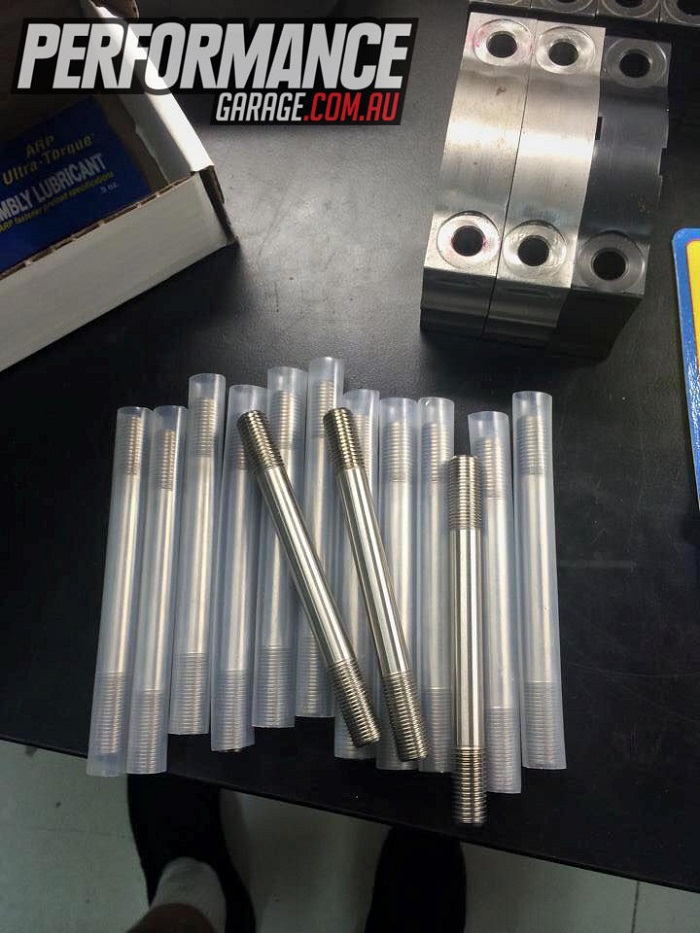
Pro-Built supplied these 12mm ARP Custom Age (CA625+) head studs
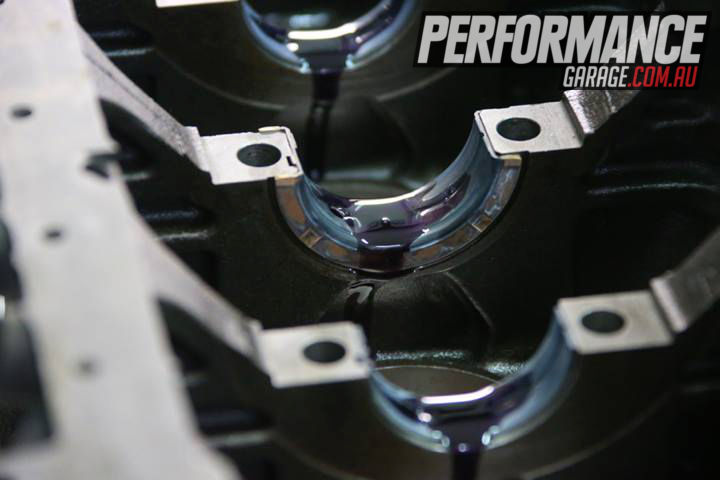
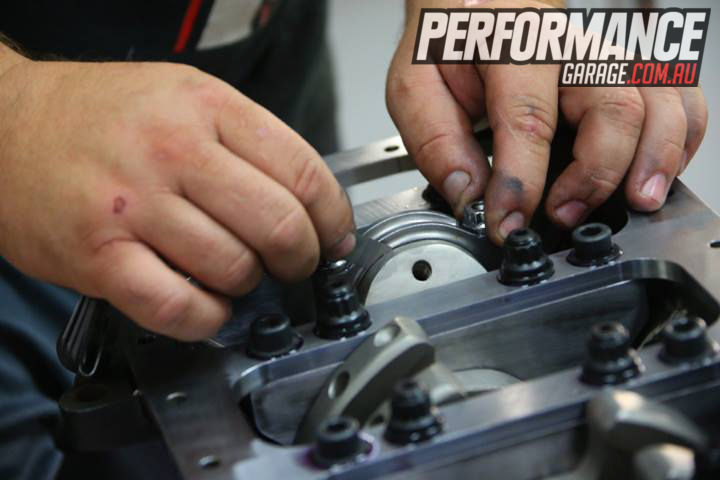
Crankshaft is lowered into the block for the final time
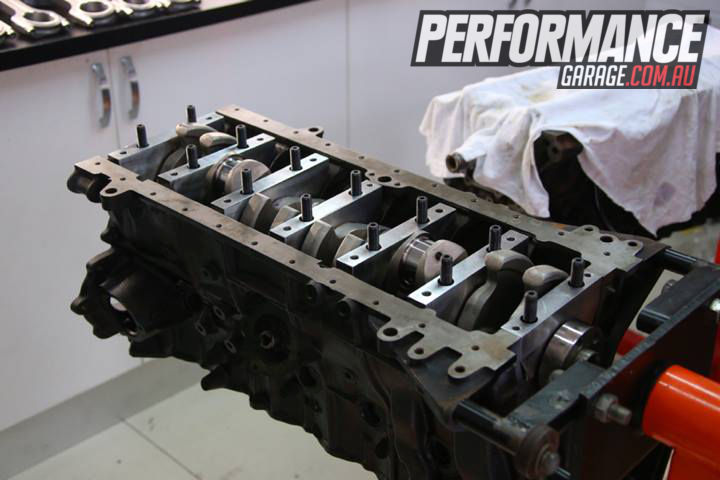
Billet steel main caps are fitted
Next comes the Spool girdle that helps tie the bottom end together
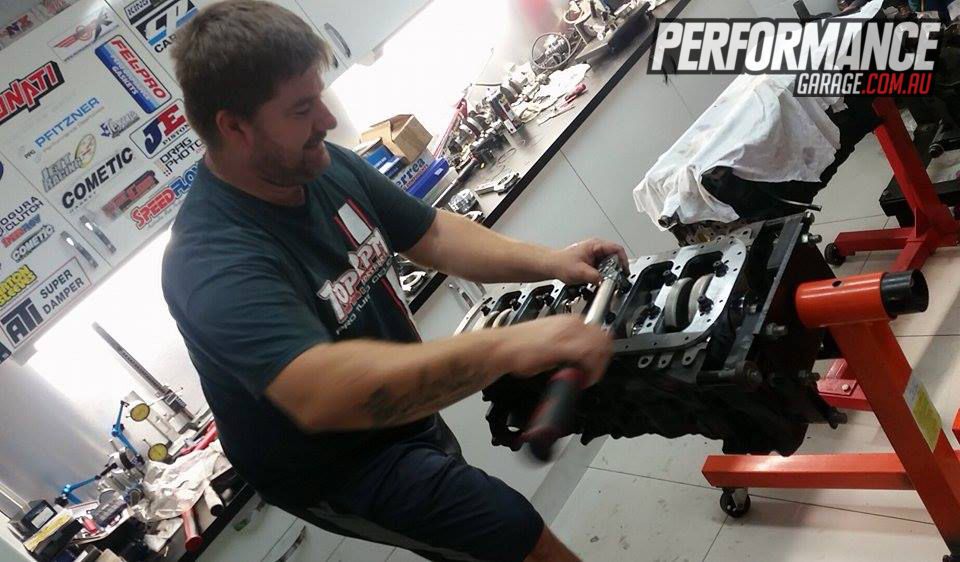
Girdle and caps are torqued into place

The finished girdle, caps and crank in place
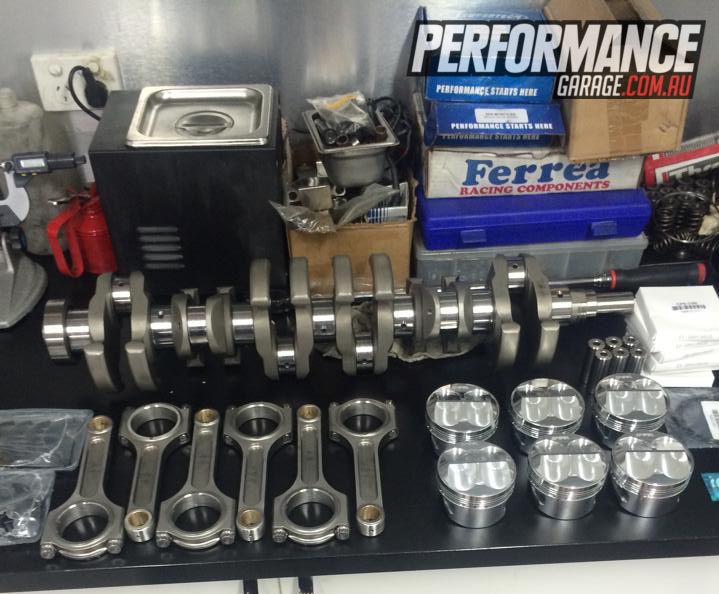
With the machining done it was time to fit the custom 10.5:1 CP Pistons to the rods and get them in the block and attached to the freshly modified and balanced crankshaft.
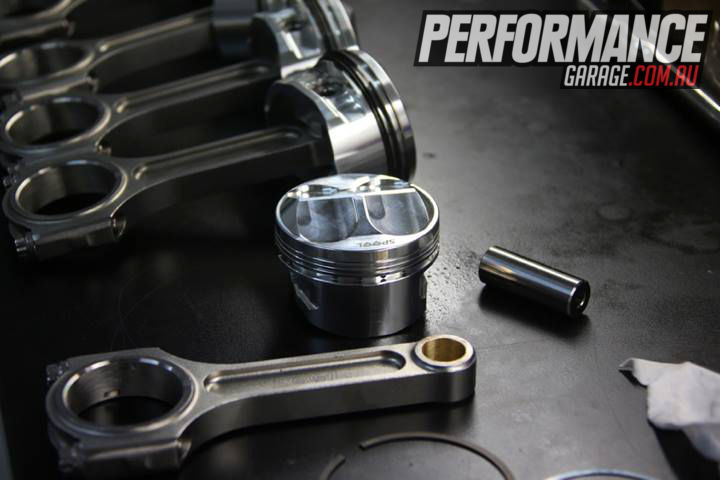
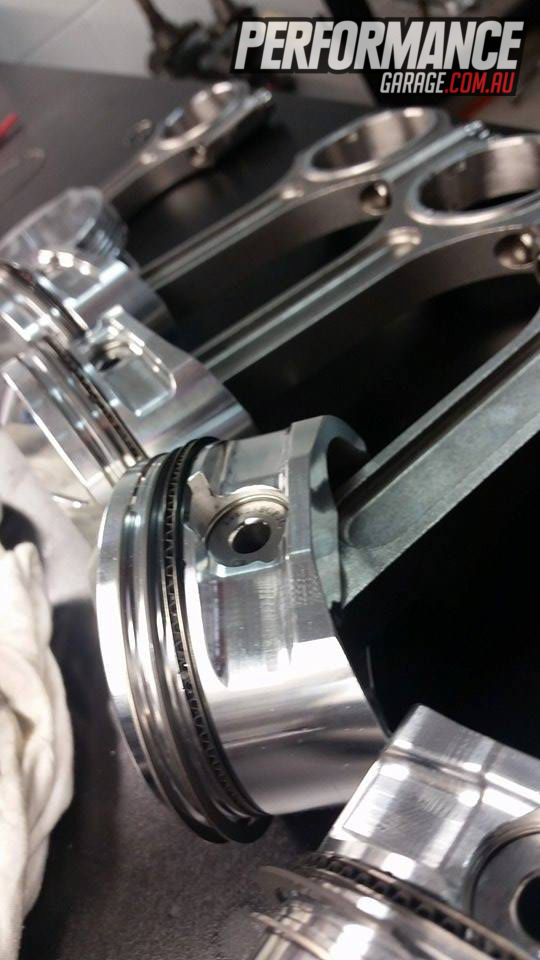
Custom CP pistons and Spool I-beam rods
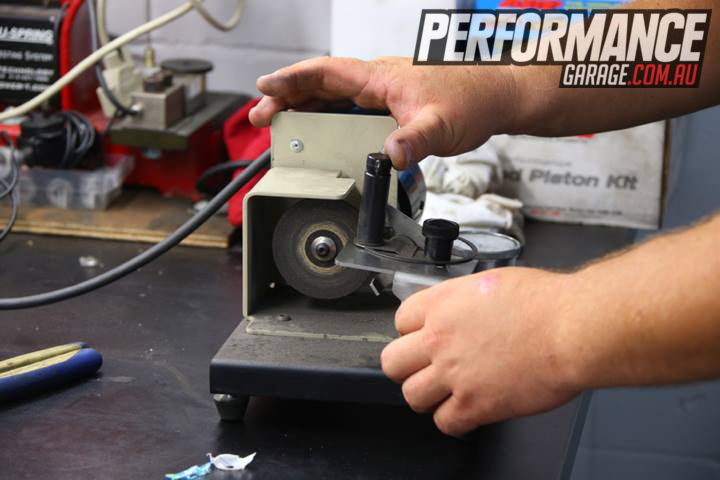
Ring gaps are set tighter than what you might normally see in a street car engine
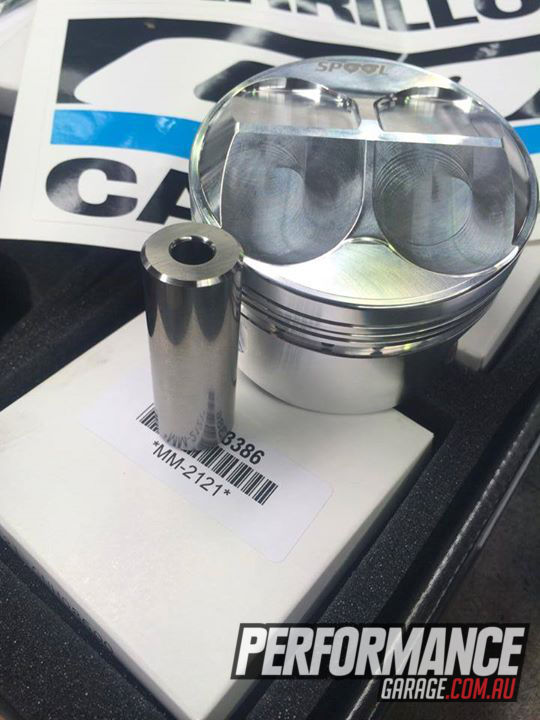
The pins are made from 9310 - a type of impact-resistant steel that is hardened and cryo treated for strength
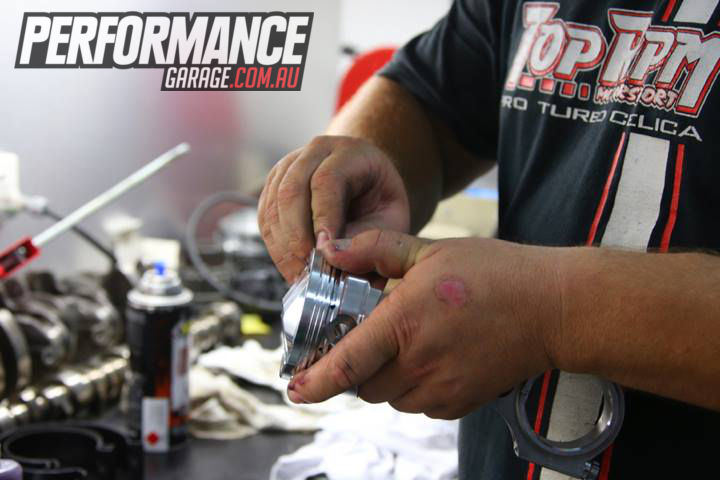
Rod bolts are done up finger tight and then torqued to a particular stretched length as opposed to a torque value
Once the desired stretch is reached you're done
Special thanks to the following businesses that have helped with the build:
Spool Imports
Precision Turbo & Engine
Pro-Built Engine Reconditioning
Top RPM Motorsport
Haltech Engine Management
Plazmaman
Ross Performance Parts
Top Class Tyres
6boost
Turbosmart
Rotormaster
Protrans Performance Automatics
Royal Purple Australia
Motorsport Connections Australia

Comments
No posts found


© 2004 - 2026 Performance Garage. Powered by CS-Cart and premium theme — © AB: UniTheme2