

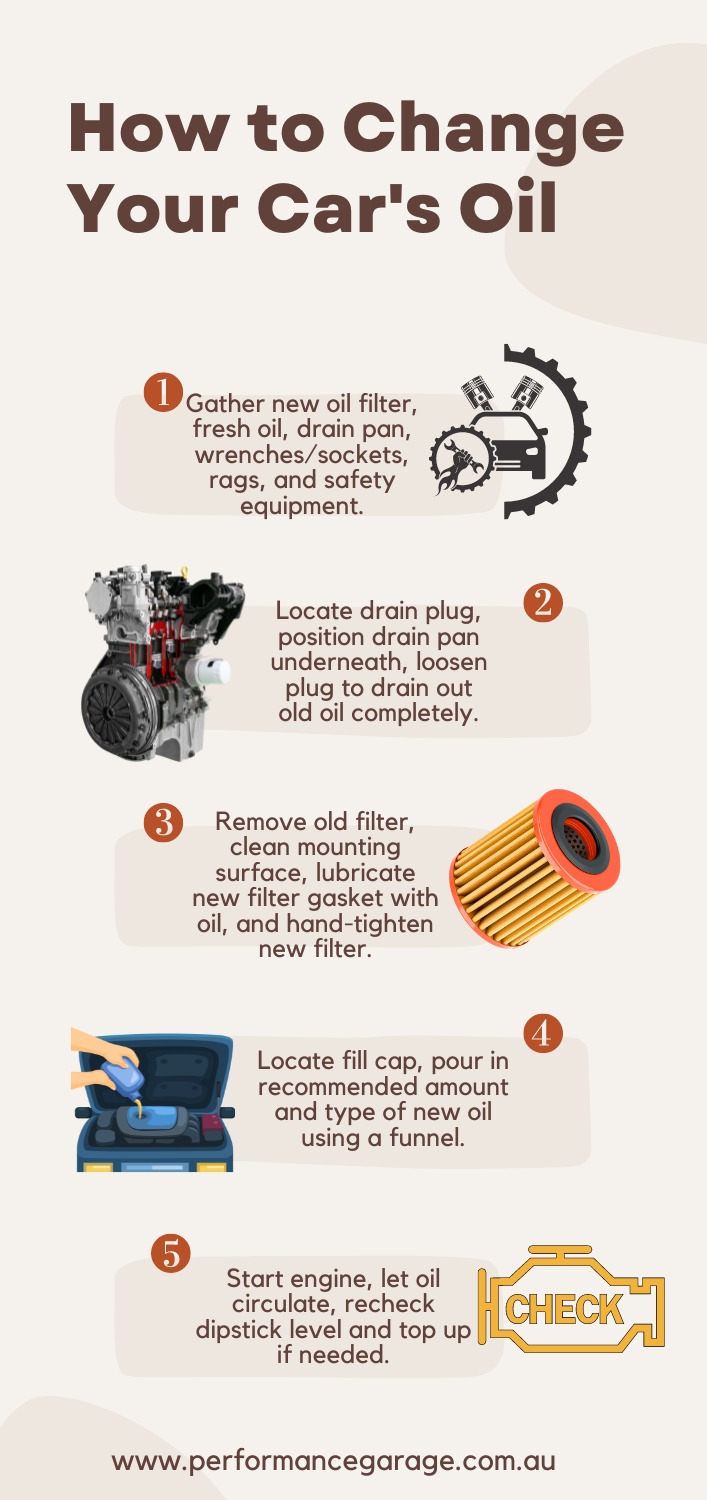
How to Change Your Car's Oil
Changing your car's oil is crucial for engine longevity. This comprehensive guide walks through every step, from gathering supplies to properly disposing of the old oil, ensuring a smooth, leak-free process.

Prepare for the Oil Change
Changing your engine oil is one of the most basic maintenance jobs, but it's also super important. Neglecting oil changes is just asking for expensive engine damage down the road.
Before we get started, you'll want to make sure you have all the right supplies on hand. At a minimum you'll need:
- New oil filter (get the one specified for your vehicle)
- Fresh oil in the quantity and type recommended by your owner's manual
- Oil drain pan to catch the old oil
- Rags or paper towels for the inevitable spills and messes
- Wrench or socket set to remove the drain plug
- Oil filter wrench if needed for your specific filter
Having all those supplies ready to go will make this job go way smoother. There's nothing worse than having to run to the auto parts store halfway through an oil change!
Next up, safety first as always. You'll be jacking up the vehicle, so use jack stands and wheel chocks properly. Gloves and eye protection are also a good idea in case of any oil splashes.
Pro Tip:
It's easier to drain the old oil when it's warm and flowing better. So start your engine and let it run for 5-10 minutes before shutting it off and jacking up the vehicle.
With your supplies prepped and the engine pre-warmed, you're ready to get started on the actual oil change process. Make sure to park on a nice level surface and apply that parking brake for safety.
Locate the Drain Plug and Oil Filter
With everything prepped, the first step is to locate the drain plug and oil filter on your vehicle. Their locations can vary quite a bit between different makes and models.
For the drain plug, you'll usually find it somewhere on the bottom of the oil pan, towards the lowest point. On some vehicles it's pretty easy to access, while others make you get up in there.
Pro Tip:
If you're having trouble finding the drain plug location, your best bet is to refer to the owner's manual for your specific vehicle. The diagrams in there will point it out.
As for the oil filter, common locations are the top of the engine, the side, or even down near the oil pan. Again, check that owner's manual if you're unsure. Don't just start yanking on things!
Once you've identified the filter location, you may need a specific oil filter wrench or socket to get it loose, depending on the type of housing.
Pro Tip:
Before starting, use a permanent marker or some masking tape to mark the top of the filter. This way you'll know which way it was oriented for re-installation.
With the drain plug and filter locations identified, you're ready to move on to the actual draining and filter removal steps. Just take your time and don't rush into this blindly.
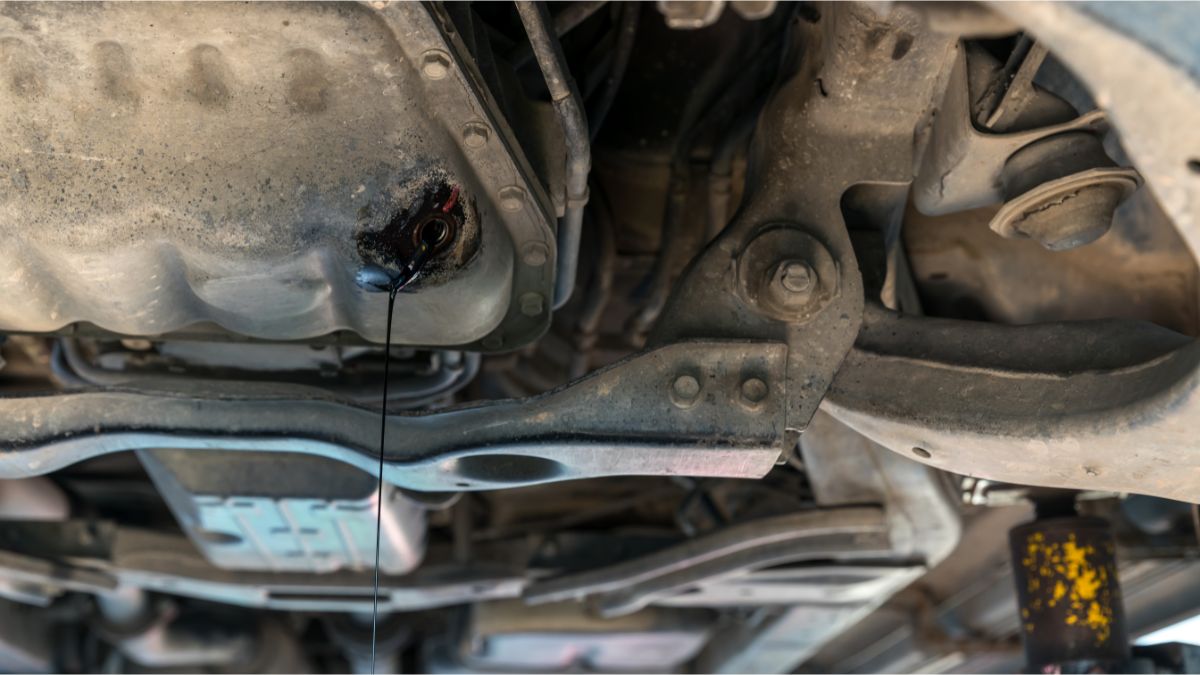
Drain the Old Oil
Alright, time to get that old sludgy oil out of there! You'll want to carefully slide yourself under the vehicle and locate that drain plug we found earlier.
Position your drain pan underneath the plug to catch the oil. Make sure to use one that's low-profile enough to fit in that tight space. You don't want oil spilling everywhere!
Pro Tip:
Put some rags or cardboard down on the ground first. This helps catch any drips and splashes to keep your driveway from getting stained.
With the drain pan situated, use the correct size wrench or socket to loosen up that drain plug. Righty-tighty, lefty-loosey! Give it a few turns until it's loose enough for the oil to start draining out.

Pro Tip:
Try to keep that drain plug from falling all the way out by keeping a finger pressed against it. The last thing you want is it dropping into the drain pan!
Let that oil fully drain out, getting every last drop. This may take 5-10 minutes depending on how warm the oil is. Be patient and let it all drain before moving on.
Once it's drained, you can go ahead and fully remove the drain plug. Just be careful of any hot oil dribbling out still. Use a rag to wipe off the plug threads nice and clean.
With the old oil fully drained, you're ready for the next crucial step - replacing that filter! We'll cover that in the next section.
Replace the Oil Filter
With that old oil fully drained, it's time to move on to replacing the filter. This is a crucial step that a lot of people accidentally skip or put off way too long.
Locate the filter housing we identified earlier. Depending on the vehicle, you may need a specific filter wrench or socket to loosen and remove it.
Pro Tip:
Put a rag or some paper towels around the filter before unscrewing it. This catches any oil that may come dribbling out as you loosen it.
Once loose, unscrew the old filter the rest of the way by hand, turning it counter-clockwise. It may be stuck on there pretty good, so use some muscle if needed.
With the old nasty filter off, take a look at the filter mounting surface on the engine. Use a clean rag to wipe away any old gasket material or gunk that's left over.
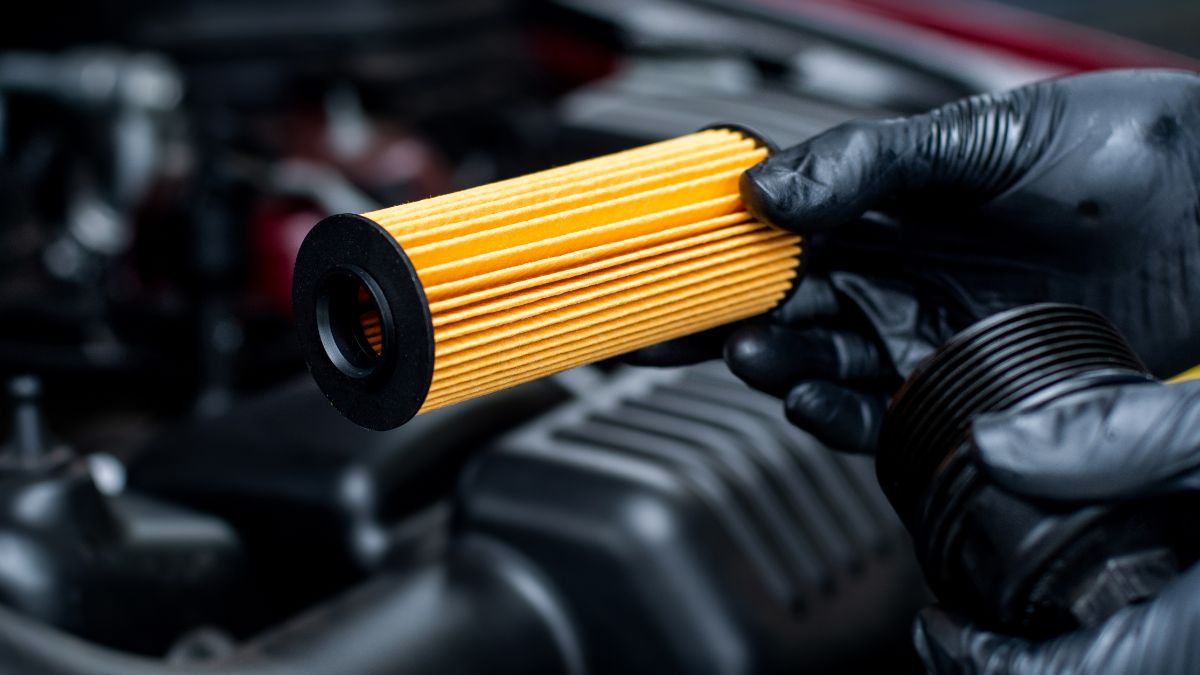
Now it's time to grab that fresh new filter and get it installed. But first, you'll want to apply a light coat of new oil to the gasket at the top.
Pro Tip:
Only use your finger to put oil on the gasket itself. Don't slop oil all over the outside of the filter or it could cause leaks.
With that gasket nicely oiled up, you can screw on the new filter following the instructions for your specific vehicle and filter type. Usually you just spin it on there snug by hand.
Don't use a wrench or anything to crank it down super tight though! That can damage the gasket and cause leaks or make it impossible to remove next time.
There you have it, new filter is on! You're making good progress but we've still got a couple more crucial steps to go.
Replace the Drain Plug
With that fresh new filter installed, we can move back down to the drain plug area to button everything up.
Before reinstalling the drain plug, you'll want to give the threads a good wipe down with a clean rag. This removes any built up gunk or debris that could cause a leak.
Pro Tip:
Check the drain plug gasket or washer while you've got it out. If it's looking crusty or damaged, replace it with a new one from the parts store.
With those threads and gasket nice and clean, you can start threading that drain plug back in by hand to avoid cross-threading. Once it's snug, grab your wrench or socket and tighten that sucker down securely.
Pro Tip:
Don't go crazy over-tightening the drain plug though. Just get it snug enough that it won't back off and cause a leak.
Double check that the drain plug is nice and tight by trying to loosen it back up a bit with the wrench. If it breaks loose at all, re-tighten it further.
With that drain plug secured, we're finally ready to start adding fresh new oil to the engine! The home stretch is in sight.
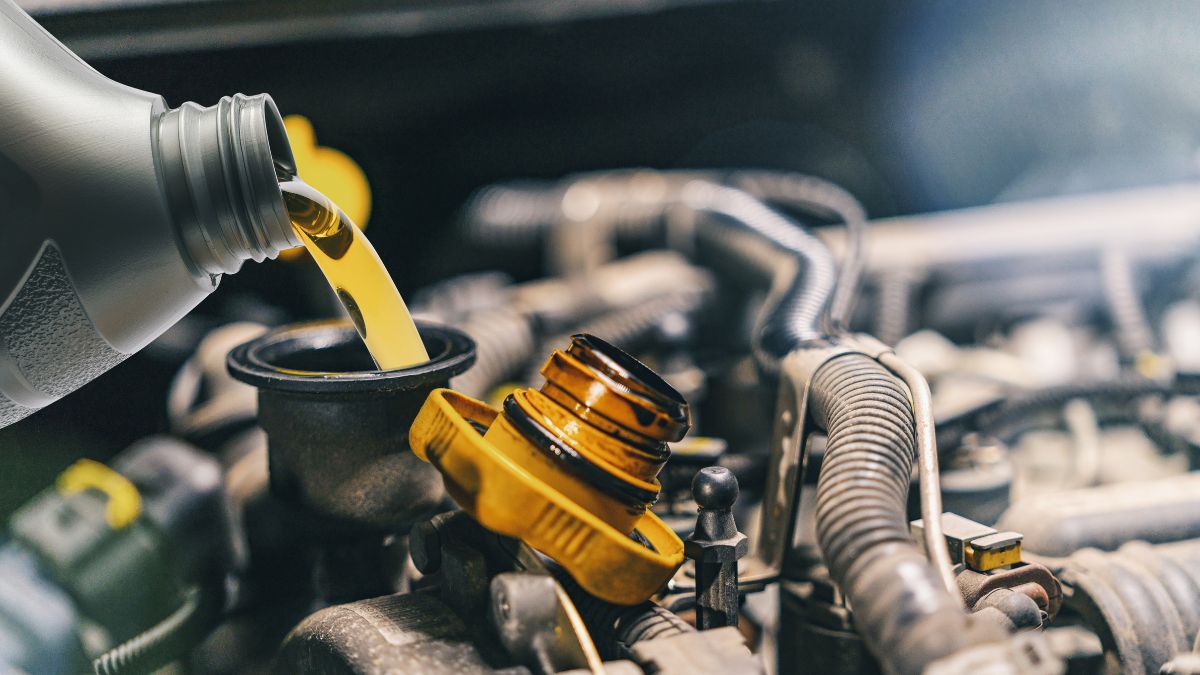
Add New Oil
Alright, we're getting down to the wire now! Time to pour in that fresh, clean oil and get this engine relubricated.
First thing's first - locate the oil fill cap or spout on your engine. This is usually on the top side, but the exact location can vary.
Pro Tip:
Refer to your owner's manual if you can't seem to find that fill cap. Don't just start pouring oil anywhere!
With the fill cap off, grab your fresh oil bottles or jugs. Make sure you've got the right weight and type that's recommended for your specific vehicle.
Slowly start pouring that new oil into the fill spout or tube. Go nice and easy to avoid any spillage or overfilling.
Pro Tip:
Funnel attachments can really help here if your fill tube opening is tight or awkwardly positioned.
Keep an eye on the level as you're pouring and periodically check the dipstick. You'll want to add just enough oil to get the level reading in the full range.
Don't overfill it though! Too much oil can be just as bad as not enough. Refer to your manual for the proper oil capacity.
Once you've got the level showing full on the dipstick, you can replace that fill cap and move on to the final steps.
Check Oil Level
We're in the home stretch now, but checking that oil level one last time is crucial before firing up the engine.
Go ahead and re-insert that dipstick all the way back in, then pull it back out. Wipe it off with a clean rag or paper towel.
Pro Tip:
Make sure to hold the dipstick perfectly level when checking the oil level reading. Any tilt can give you an inaccurate measurement.
With the dipstick wiped clean, stick it back in fully and then pull it out to check that level. You're looking for the oil to be right at the full or maximum mark.
If it's reading a little low still, that's no problem. Just top it up slowly with some additional new oil until that level is perfect.
Pro Tip:
Only add a little oil at a time when topping up to avoid overfilling. Keep checking that dipstick frequently.
Once you've got that oil level sitting pretty right at the full mark, you're finally ready for the last couple of steps to complete the oil change!
Start Engine and Check for Leaks
Alright, we're almost there! With that fresh oil topped up, it's time for the moment of truth - starting up the engine.
Before you fire it up though, do one last visual inspection around the oil filter area and drain plug. Double check that there's no oil already starting to seep out.
Pro Tip:
Use a torch to really inspect those areas closely. The last thing you want is a leak after all that work!
If everything looks good and dry, go ahead and start up that engine. Let it idle for 30 seconds to a minute to get the oil circulating.
While it's idling, keep a very close eye out for any leaks. Check around the drain plug, filter housing, oil pan seams - anywhere oil could potentially start seeping out.
Pro Tip:
Have a rag or paper towels handy in case you do spot a leak so you can try to quickly clean and tighten the area.
Assuming no leaks, let that engine run for a couple more minutes. This allows the oil to fully circulate through all the passages and components.
After it's had a little run time, go ahead and re-check that dipstick one final time while the engine is still running.
Dispose of Old Oil Properly
With that fresh oil installed and circulating properly, there's just one final crucial step - getting rid of that old nasty oil you drained out.
Never, ever dump used engine oil on the ground, down storm drains, or anywhere else it could contaminate the environment. That stuff is extremely toxic!
Pro Tip:
Most auto parts stores and service centres will accept used oil for proper recycling and disposal, often for free. Call ahead to check.
If you've got a large enough quantity, some locations may even offer a cash rebate for turning in your old oil. It pays to dispose of it responsibly!
For smaller amounts, your local household hazardous waste facility is another good option for dropping off used oil. They have the means to handle it safely.
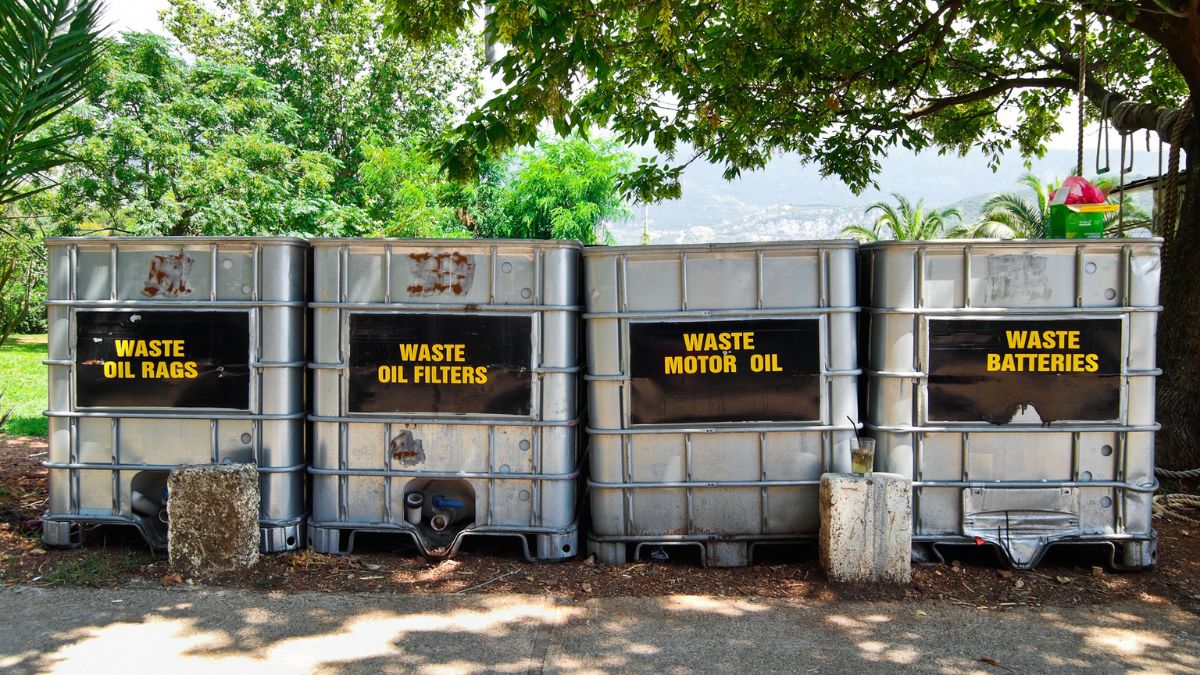
The key thing is to keep that oil contained and off the ground until you can get it to a proper disposal site. Use leak-proof containers and keep them away from heat sources.
Pro Tip:
Kitty litter is great for soaking up any small spills or leaks from transporting used oil before you can dispose of it.
So there you have it guys! Follow those proper oil change and disposal steps, and you'll be keeping your engine running smooth and the environment clean.
Reset Maintenance Light
We've made it to the final step! With that fresh oil installed and the old stuff properly disposed of, there's just one more quick thing to take care of.
On most modern vehicles, you'll have an oil change or maintenance light that illuminates on the dash to remind you when it's time for service.
On some cars and trucks, it's as simple as pressing and holding a button or turning a dial after an oil change. This resets the light until the next service interval.
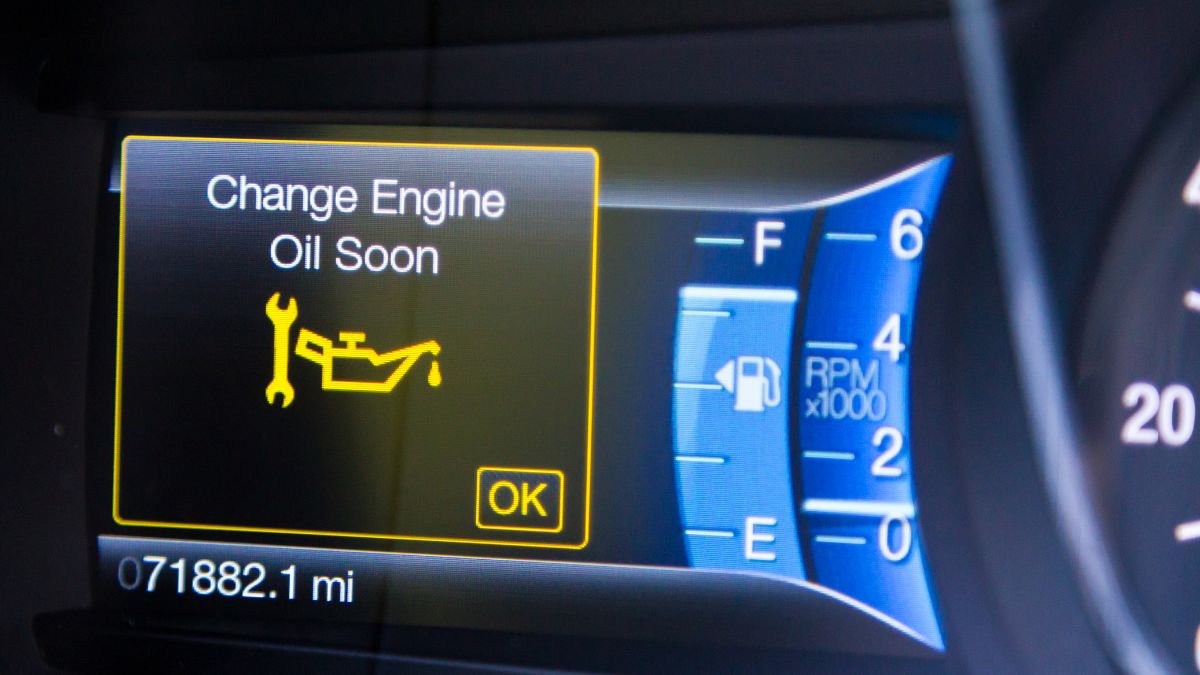
For others, you may need to navigate through the digital information display menu using the steering wheel controls to find the maintenance reset option.
Once you've properly reset that light per the instructions, you're finally 100% completed with the full oil change service!
Give yourself a pat on the back. Changing your oil regularly is one of the most important things you can do to extend your engine's life.
Pro Tip:
Refer to your owner's manual for the specific process to reset this light for your vehicle's make and model.
Pro Tip:
Don't just ignore or disconnect this maintenance light! It's there to help remind you to keep up with vital services.
For those looking to take their DIY automotive maintenance to the next level, we've also covered the process of changing your vehicle's brake pads in-depth. Brake pads are a critical safety component that wear down over time and require periodic replacement. Our comprehensive guide walks through the steps for properly inspecting your brake pads for wear, selecting the right replacement pads for your driving needs and vehicle, and safely performing a full brake pad service on your car or truck. View our entire series on How To's.

Comments
No posts found


© 2004 - 2026 Performance Garage. Powered by CS-Cart and premium theme — © AB: UniTheme2