

How to Install New Brake Pads
Don't pay a mechanic big bucks for a brake job - we'll show you how to replace pads and rotors yourself and get better, longer-lasting stops for less!

Prepare for the Job
Before you get started replacing those brake pads and rotors, there are a few things we need to do to prepare for the job.
First up, you'll want to gather all the necessary tools and parts:
- New brake pads (get quality ones, don't cheap out!)
- New rotors if yours are worn beyond specs
- Brake caliper grease or lubricant
- Basic hand tools - sockets, wrenches, etc.
- Brake tools like a caliper piston compression tool
- Jack and jack stands for safety
- Wheel chocks
- Gloves and eye protection
Having the right parts and tools on hand will make this job go smoothly. You don't want to get halfway through and realise you're missing something!
Next, safety first. You'll be jacking up the vehicle, so use those jack stands properly and chock the wheels. Wear your safety glasses and gloves too when working on the brakes.
With your parts and tools prepped and safety handled, you'll be ready to move onto the actual brake job. But don't skip these crucial prep steps! Doing so is one of the most common mistakes people make when replacing brakes.
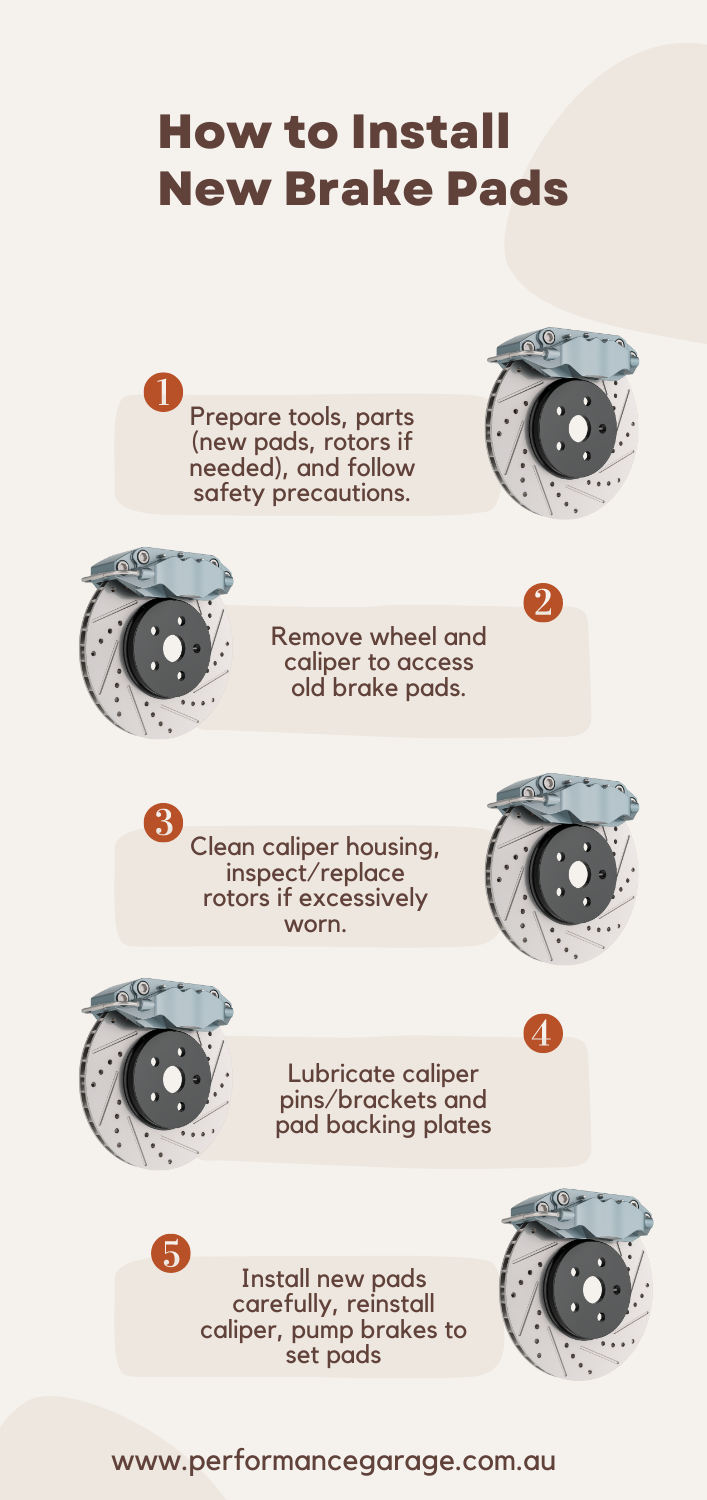
Remove Old Brake Components
Alright, now that we're prepped and ready, let's get those old brake pads and components out of there.
First thing's first, you'll need to get that wheel off. Break those lug nuts loose before lifting the vehicle, but only remove them once the wheel is off the ground. Safety first!
Pro Tip:
Mark the wheel with a piece of chalk so you know which way it was facing when you put it back on.
With the wheel out of the way, it's time to remove the caliper. On most vehicles, you'll just need to take out a couple bolts or pins holding it onto the bracket. Be careful though, as the caliper can be heavy and you don't want to let it hang from the brake line.
Some calipers will just lift right off, but others have caliper brackets that need to be removed first. Check your service manual if you're unsure.
Once the caliper is out of the way, those old brake pads should slide right out. If they're stuck or seized in place, you may need to carefully pry them out with a pry tool. Just don't go jamming away at them!
With the pads out, you'll also want to inspect the caliper bracket area and give it a good cleaning to remove any debris or corrosion buildup. A wire brush works great for this.
Take your time with this disassembly process and be patient. Rushing through and damaging components is only going to cost you more time and money in the long run.
Inspect and Clean Brake Components
With those old brake pads out of the way, now's the time to give all the brake components a thorough inspection and cleaning.
First up, let's look at those brake rotors. Are they scored, grooved or just worn down too much? If so, you'll want to replace them along with the pads.
Pro Tip:
Use a micrometer to accurately measure the rotor thickness and compare it to the specs for your vehicle's minimum thickness. Don't just eyeball it!
Even if your rotors look good, you'll still want to give them a good cleaning. Brake dust and rust buildup can cause issues with the new pads bedding in properly.
Use some brake cleaner spray and scotch brite pads to clean up the rotor surfaces until they look nice and fresh again. While you're at it, hit the caliper housing and bracket areas too to remove any brake dust, grease or debris buildup.
Watch out though! Don't get any cleaner sprayed on the actual brake pads or pad area of the caliper pistons. That could cause the new pads to grab unevenly.
With those rotors and housings all cleaned up, you'll be ready to move on to prepping for the new pad installation. Taking the time for this cleaning step is key to getting good brake life and performance out of those fresh pads.
Prepare for New Pad Installation
Alright, with those old components cleaned up, it's time to get everything prepped and ready to install our fresh new brake pads.
One of the most important steps here is lubricating the caliper slide pins and caliper bracket areas with the proper brake caliper grease or lubricant.
Using the correct lubricant is crucial - don't just use regular grease! That could cause the caliper to bind up and the new pads to wear prematurely or unevenly.
Apply a nice coat of the caliper lube to any area where the caliper slides or makes contact. This ensures smooth operation and prevents sticking or seizing down the road.
Pro Tip:
Hit those slide pin boots with some lube too to keep them pliable and prevent cracking.
With the caliper hardware all lubed up, you'll also want to give the new brake pads themselves a quick inspection. Make sure the friction material looks good with no cracks, gouges or uneven wear patterns.
Some pads may have a thin coating that needs to be lightly sanded to remove any high spots or glazing. Just take it easy and don't go crazy with the sanding.
Finally, apply a light coating of the caliper lubricant to the backing plate areas of the new pads where they'll make contact with the caliper pistons and brackets. This helps prevent any noise or vibration issues.
Alright, with those new pads prepped and the caliper components lubed, we're finally ready to get these babies installed!
Install New Brake Pads
Alright, it's finally time for the main event - installing those fresh new brake pads!
Before we get started, make sure those new pads are properly lubricated in the right areas per the manufacturer's instructions. A thin coating of the caliper grease on the backing plates and areas that contact the caliper is usually recommended.
With the pads prepped, carefully slide them into the caliper housing one at a time. Go slow and don't force them - they should slide in smoothly with just a little effort.
Pro Tip:
On some vehicles, you may need to use a caliper piston compression tool to push the pistons back in to create clearance for the new thicker pads.
Once the pads are seated properly in the caliper, it's time to reinstall the caliper over the rotor and pads. Again, take your time and don't force anything.
Make sure the caliper slides smoothly over the bracket and the pads don't get knocked out of position. You may need to retract or rotate the caliper pistons a bit to get it situated just right.
With the caliper reinstalled, replace any bolts, pins or caliper bracket components you removed earlier. Refer to your repair manual for the proper torque specs and tightening sequence.
Don't overtighten these bolts! That's a common mistake that can cause the caliper to bind up.
With the caliper secured, you'll want to pump the brake pedal a few times to set the pads against the rotor. This helps seat them properly before taking it out on the road.
Then just repeat the whole process for the other wheel(s) and you'll be all set with fresh new brake pads installed!
Repeat for Other Wheel(s)
With one wheel's brakes all fresh and new, it's just a matter of repeating the whole process for the other wheel(s) on that same axle.
For the front brakes, that means removing the other front wheel and going through all the caliper, pad, and rotor steps again from start to finish.
On rear disc brake setups, you'll tackle both rear wheels using the same procedures we just covered.
Pro Tip:
Work on one complete brake assembly at a time rather than removing all the wheels and parts at once. This helps keep things organised and prevents any mix-ups.
As you move to the other wheel(s), be just as diligent about safety, cleaning, inspection and proper lubrication as you were on that first one. Cutting corners here could lead to uneven brake wear or performance down the road.
Take your time and don't rush through it. Brake jobs require patience and attention to detail every step of the way.
Once both brake assemblies are complete with fresh pads and rotors installed, you're almost ready to wrap this job up. Just a couple final steps remain...
Finalise Installation
Alright, with those fresh brake pads installed on both wheels, we're in the home stretch! But don't get too excited yet - there are still a couple crucial steps to finalise the installation properly.
First up, you'll want to pump that brake pedal 25-30 times with the vehicle still on jack stands. This cycles the calipers and sets the new pads against the rotors before putting any weight on them.
Pro Tip:
After pumping the pedal, have an assistant apply the brakes while you spin each wheel to ensure the pads are engaging evenly.
With the pads set, you can go ahead and reinstall the wheels and torque the lug nuts to spec in a crisscross pattern. Double check that torque!
Before taking it out on the road, I also recommend topping up the brake fluid reservoir since compressing those calipers pushes fluid back up. Use the correct DOT fluid for your vehicle.
Finally, it's time for the all-important bed-in procedure to properly mate those new pads to the rotors. Slowly pull away and make 8-10 hard deceleration stops from about 50 kmh down to 10 kmh. Allow the brakes to cool between stops.
Don't come to a complete stop! This allows the pads and rotors to develop an even transfer layer.
After the bed-in, you can drive normally. But keep in mind it may take up to 450 KM's of driving before the new pads and rotors are fully cured and providing maximum performance.
There you have it! Follow all those steps carefully, and you'll be rolling on fresh brakes. As always, safety first when working on anything brake related.

Comments
No posts found


© 2004 - 2026 Performance Garage. Powered by CS-Cart and premium theme — © AB: UniTheme2